Bee Swarm Simulator is one of Roblox’s deepest and most rewarding simulator games, blending idle mechanics, active farming, RPG-style progression, and long-term strategy. At first glance, collecting pollen and making honey seems simple, but as you progress, the game reveals layers of complexity involving bee types, gear optimization, quests, field bonuses, events, and precise decision-making. Many players get stuck mid-game not because they lack effort, but because they lack direction.
This comprehensive Bee Swarm Simulator Tip & Guide article is designed to walk you through the game step by step, from your first bee to late-game efficiency strategies. The sections are arranged according to time and progression, ensuring that each tip becomes relevant exactly when you need it. Whether you are a beginner or a returning player aiming for optimization, this guide will help you avoid common mistakes and progress smarter, not harder.
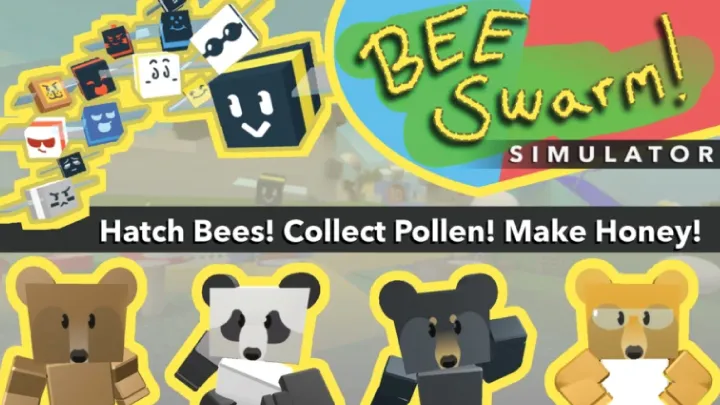
Understanding Bee Swarm Simulator Core Mechanics
Before focusing on progression, it is crucial to understand how Bee Swarm Simulator fundamentally works. The game revolves around collecting pollen from flower fields, converting that pollen into honey, and using honey to improve your bees, gear, and overall efficiency. Every system in the game is interconnected, meaning small decisions early on can have long-term consequences.
Pollen collection depends on multiple factors such as your bees’ abilities, your collector tool, field boosts, and passive bonuses from amulets and equipment. Meanwhile, honey production depends on how efficiently your bees convert pollen at the hive. Understanding this balance early prevents wasted upgrades and inefficient grinding.
Pollen vs Honey Balance
New players often focus too much on pollen collection without considering conversion speed. If your pollen bag fills too quickly, you will spend more time converting than collecting, reducing overall efficiency. Upgrading backpacks and hive conversion speed together is key.
Key Beginner Tip
Never over-upgrade your collector without improving your backpack and hive bonuses. Balanced upgrades always outperform raw power.
Early-Game Progression Strategy (First 1–10 Bees)
The early game sets the foundation for everything that follows. Your goal during this stage is not speed, but stability. You should focus on unlocking fields, completing easy quests, and learning how different bees function together rather than rushing rare bees.
At this stage, your honey income will be limited, so every purchase matters. Prioritize hive slots over cosmetic upgrades, and resist the temptation to reroll bees too often. Every bee provides value early on.
Best Early Bees to Keep
Basic, Looker, Brave, and Hasty bees offer surprisingly strong early bonuses. Their simplicity makes them reliable contributors to pollen collection and movement speed.
Early Mistakes to Avoid
Do not spend tickets or Robux on star treats or mythic chances early. These resources are far more valuable later when your hive can fully utilize them.
Efficient Quest Completion and NPC Priorities
Quests are the main driver of progression in Bee Swarm Simulator. They unlock new gear, zones, and powerful bonuses. However, not all quests are equally valuable at every stage of the game.
You should prioritize NPCs whose questlines unlock permanent progression benefits, such as new areas or core mechanics. Completing quests also improves your understanding of field-specific bonuses and bee synergy.
Recommended Quest Order
Focus first on Black Bear, Mother Bear, and Science Bear. These NPCs provide critical early upgrades, learning mechanics, and stat boosts that directly improve your efficiency.
Quest Optimization Tip
Stack quests whenever possible. Farming a field that completes multiple quests at once dramatically reduces grind time.
Hive Building Fundamentals and Bee Synergy
Your hive composition is more important than individual bee rarity. A well-balanced hive will outperform a poorly planned rare hive. Understanding synergy between bees is essential for long-term success.
Balanced hives typically include a mix of red, blue, and colorless bees early on. This flexibility allows you to complete a wider variety of quests and take advantage of more field boosts.
Role-Based Hive Design
Think of bees in roles: pollen collectors, boosters, converters, and support bees. Every hive should include bees that enhance others rather than duplicating the same ability endlessly.
List of Essential Support Bees
• Music Bee for token boosts
• Commander Bee for critical chance
• Baby Bee for luck bonus
• Carpenter Bee for mark synergy
Field Selection and Boost Management
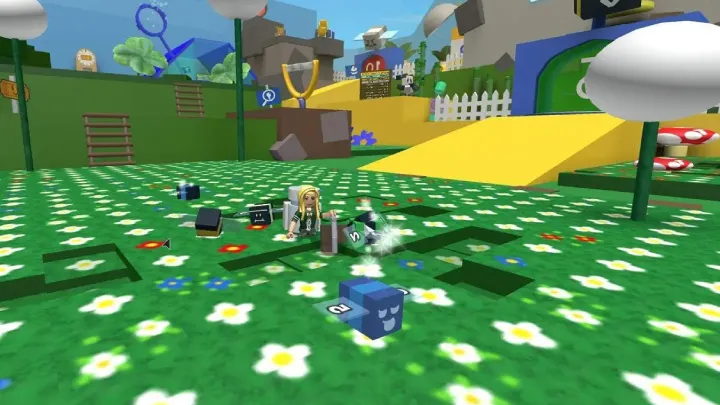
Choosing the right field at the right time can double or even triple your efficiency. Each field has unique flower types, rarities, and bonuses that synergize with certain bees and equipment.
Boost management becomes increasingly important as you progress. Using field dice, jelly beans, and micro-converters strategically can massively reduce grind time.
Early Best Fields
Sunflower, Clover, and Pine Tree Forest offer consistent pollen and easy quest completion for beginners.
Boost Timing Tip
Never activate boosts when your bag is nearly full. Always empty your bag first to maximize boost duration.
Equipment Upgrades and Tool Prioritization
Equipment upgrades define your progression speed more than any single bee. Choosing the right tools at the right time prevents wasted honey and frustration.
Collectors, backpacks, boots, guards, and belts all contribute differently. The key is upgrading equipment that improves both collection and movement efficiency.
Best Early Equipment Path
Focus on movement speed boots early. Faster movement equals more pollen over time, especially in large fields.
Gear Trap to Avoid
Avoid expensive mid-tier gear if you are close to unlocking better alternatives. Saving honey is often more efficient than incremental upgrades.
Mid-Game Progression (25–35 Bees Strategy)
Mid-game is where many players slow down or quit. The grind increases, quests become longer, and optimization becomes mandatory. At this stage, efficiency matters more than effort.
Your focus should shift toward specialized hive building, amulets, and consistent honey farming routes. This is also where event items begin to play a larger role.
Mid-Game Goals
Unlock Mountain Top gear, improve amulets, and stabilize your hive composition before chasing mythic bees.
Resource Management Advice
Stop randomly rolling royal jelly. Save until you can roll in bulk with a clear hive plan.
H2: Amulets, Buffs, and Passive Bonuses Explained
Amulets provide hidden power boosts that many players underestimate. Each amulet adds unique bonuses that stack multiplicatively with gear and bees.
Understanding which amulets to upgrade and reroll can dramatically change your performance without changing your hive.
Priority Amulets
Stick Bug, King Beetle, and Moon Amulets should be improved as soon as possible due to their powerful passive effects.
Rerolling Tip
Only reroll amulets when you can afford multiple attempts. One bad roll can waste hours of farming.
Event Farming and Limited-Time Optimization
Seasonal events like Beesmas introduce exclusive items, buffs, and quests that significantly accelerate progression. Smart players use these events to leap forward rather than just participate casually.
Event items often provide bonuses that cannot be obtained elsewhere, making them critical for long-term optimization.
Event Strategy
Focus on permanent rewards first, such as buffs and equipment, before cosmetic or consumable items.
Event Efficiency Tip
Do not hoard event items indefinitely. Use them during high-efficiency farming sessions to maximize value.

Late-Game Optimization and Long-Term Goals
Late-game Bee Swarm Simulator is about refinement, not expansion. Small percentage improvements add up significantly when stacked correctly. At this stage, patience and planning outperform grinding.
Your goals shift toward perfecting hive synergy, maximizing boosts, and optimizing farming routes for specific colors or strategies.
Late-Game Focus Areas
Color specialization, mythic bee synergy, and advanced boost chaining become the core gameplay loop.

